Wednesday, April 30, 2014

Insta-jorth

I did it! I finally did it - I joined Instagram!

Travel

One of the reasons I've signed up is so that I can easily document our trip overseas. Yup, just thought I'd throw that one in there! We're heading over to Switzerland, then to various parts of England and Scotland. I cannae wait! Everything is booked, our house sitters have their keys, and the mail has been redirected. Six weeks of travelling, here I come!

So if you want to get a regular dose of Jorthy goodness, follow me on ze 'gram: jorthknits - cat pictures will be kept to an absolute minimum. Promise!

Monday, April 28, 2014

Ginger nuts (or the worst poem you'll read this week)

Sunday afternoon, and I'm on the couch
Got an infection, so I'm a right royal grouch
Galumph and Tyger confer in kitchen
"What can we do to stop her bitching?"

Cupboard doors a flung open wide
Various ingredients are taken from inside
Flour, sugar, and heaps of spice
To tame the beast they'll bake something nice

10 minutes on the oven door is open
I look up from the couch, my heart a-hopeing
With a plate and a cuppa over Tyger struts
Oh bless their hearts - they made me ginger nuts!

And damn tasty they were, too! Just as good as the shop ones, and that's really saying something.

Gingernuts


Gingernuts #1


Gingernuts #2

Ginger nuts*

200g butter
2 tbsp. golden syrup
2 cups raw sugar
2 eggs, beaten
3 1/2 cups plain flour
6 teaspoons ground ginger
2 tsp baking soda

1 - Preheat oven to 180 C. Melt the butter and syrup together in a saucepan over a medium heat. Pour into a large bowl.

2 - Add the sugar and egg to the butter mixture and stir well. Add in the remaining dry ingredients and mix together well.

3 - Roll spoonfuls of the mixture into balls and place on lined baking trays. Press balls flat with a fork, and sprinkle the tops with a little extra raw sugar. Bake for 11 - 12 minutes for a medium crunchy biscuit, or a tad longer if you prefer yours super crunchy. Makes 60.

*guaranteed to sooth any cranky people you may have lying around.


Tuesday, April 22, 2014

Tweed beanie

Warm. Easy on the eye. Strong yet soft at the same time.

Oh, and the beanie ain't half bad, either. Ha!

Beanie #1

This was meant to be an intricate yet still manly cabled beanie for Galumph, but once I started doing the ribbing, I realised that the cable detail would get completely lost in the tweediness of the yarn. So I did some mods, and made a simple stocking stitch beanie instead.

Although I was rather looking forward to doing all the fancy cable work, I really like the simple gorgeousness of the tweed. It reminds me of clouds on a stormy day - full of blues and greys and blacks and greens.

I'm kinda hankering after some tweedy goodness for myself, now!

*off to peruse patterns on Ravelry*...

Project Details
Yarn: 2 balls of Jo Sharp Silkroad Aran Tweed in Ash 120 from Woolarium
Needles: 3.5mm and 4.5mm circular needles (magic loop method used)

Wednesday, April 09, 2014

Perfect weather for knitting


Grey

As I sit here, it's steadily raining outside. The sky is one big sheet of grey, and I am knitting a beanie for Galumph and feeling blissfully happy. I LOVE the cooler months. I'm such a Cancerian crab at heart - liking nothing better than to be pottering around inside, sewing or knitting up a storm and thinking up new ways to keep my beloved ones warm and well fed. You can keep your summer days, with your posing bikini-clad beach goers, and melted ice creams, and sapping heat. As far as I'm concerned, the only good thing about summer is wearing summery frocks, and I reckon knitting on the couch as the rain gently pitter patters outside trumps even that!

Speaking of knitting, there's still a few spots left in the class I'm teaching this Saturday morning over at Handmaker's Factory, so if you fancy knitting up a storm this winter as well, come along and be shown the ways by moi! Not only will you have bucket loads of fun and learn a new skill, but you will also help me in my life long project of converting everybody I meet to the knitting way. Come, my friends... come over to the knit side!


Wednesday, April 02, 2014

Quince paste

This morning I woke up to discover that I had a young daughter with the sniffles and a temperature. Checking the radar I discovered that there was a whole lot of rain also headed my way. Blast! Looks like I wasn't going anywhere soon.

Thankfully there was all those quinces just lying around the kitchen counter. I had sugar in the cupboard, and a whole day to fill in. Quince paste it was!

I've always been a bit trepidations about making quince paste. For some reason, preserve making in general fills my soul with terror. Maybe it's from studying years of microbiology at uni, but I always have a fear that something won't get sterilised properly, and I won't realise until I have proudly offered one of my nearest and dearest a taste of my home-made jam, only to watch them drop dead in front of me. However, I decided to gamble on making successful quince paste. After all, the thing is so jam packed (ha!) with sugar that even I couldn't muck it up, and no nasties would be able to live on it if they tried, sugar being such an excellent antibacterial.

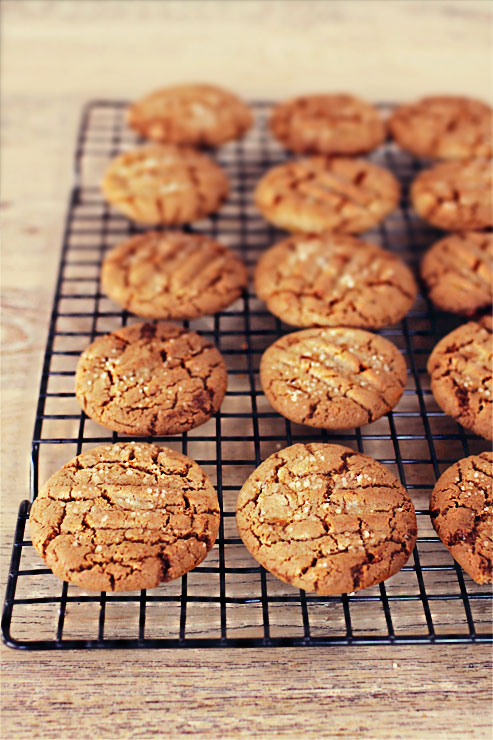
So I said "Jorthy! Get thyself into the kitchen, and get cooking, you big old scaredy cat!", and I did. And now I am kicking back triumphantly, revelling in my quince paste-scented kitchen, waiting for the pots to cool down so I can gobble it with an oat biscuit and some stinky blue cheese.

Tyger is also lurking about, wondering when she can snaffle some, which makes me think that somebody will definitely be fine for school tomorrow.

Quince Paste

Quince paste

1.4kg quinces (about 4), peeled, cored and roughly cubed
125ml water
600g sugar

1 - Combine the quinces and water in a medium-sized saucepan, and bring to the boil. Turn down to a simmer, and simmer covered for 30 minutes, stirring occasionally.

2 - Allow to cool, and then blend the water and quinces together until smooth (I used a stick blender, so I didn't have to wait aaaaaages for it to cool down). Then add the sugar to the quince puree, and bring the mixture to the boil, stirring until the sugar has dissolved.

3 - Turn the heat down to low, and cook very gently for 2 hours, stirring regularly to make sure the mixture doesn't stick and burn to the bottom of your pan. Watch out - the thing will begin to burp and splash out after the first hour. Cook until the mixture is very thick, and has turned a deep reddish colour.

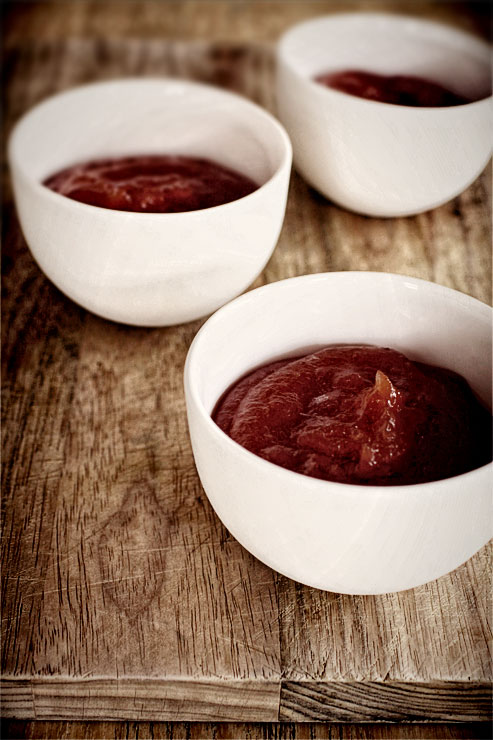
4 - Take off the heat, and transfer into little pots or containers. Allow to cool, then cover with gladwrap and keep in the fridge until required. When serving, bring back to room temperature, and serve with a dry biscuit and some really nice blue cheese.

Make 4 small pots worth.